PubNub’s global data stream network handles over 2 trillion messages each month, providing near-instant message delivery around the globe. PubNub’s network is scalable and reliable (99.999% SLA) and lets the developers focus on developing their applications instead of worrying about managing the infrastructure. That is probably why it is already used by a lot of big-name companies around the world, such as Adobe, Logitech, and Yelp.
In this blog post, I'll show how to create a simple real-time chat application with PubNub and React JS. Let's get started.
Getting started with PubNub
To get started, head over to pubnub.com and create a new account by clicking "Login" on the top right and then selecting "Sign up". A free PubNub account includes a million transactions and access to all of the major features, so you'll have plenty to work with. Once you have created an account and log in, you’ll be redirected to the admin dashboard where you can create a new app for the purposes of this tutorial.
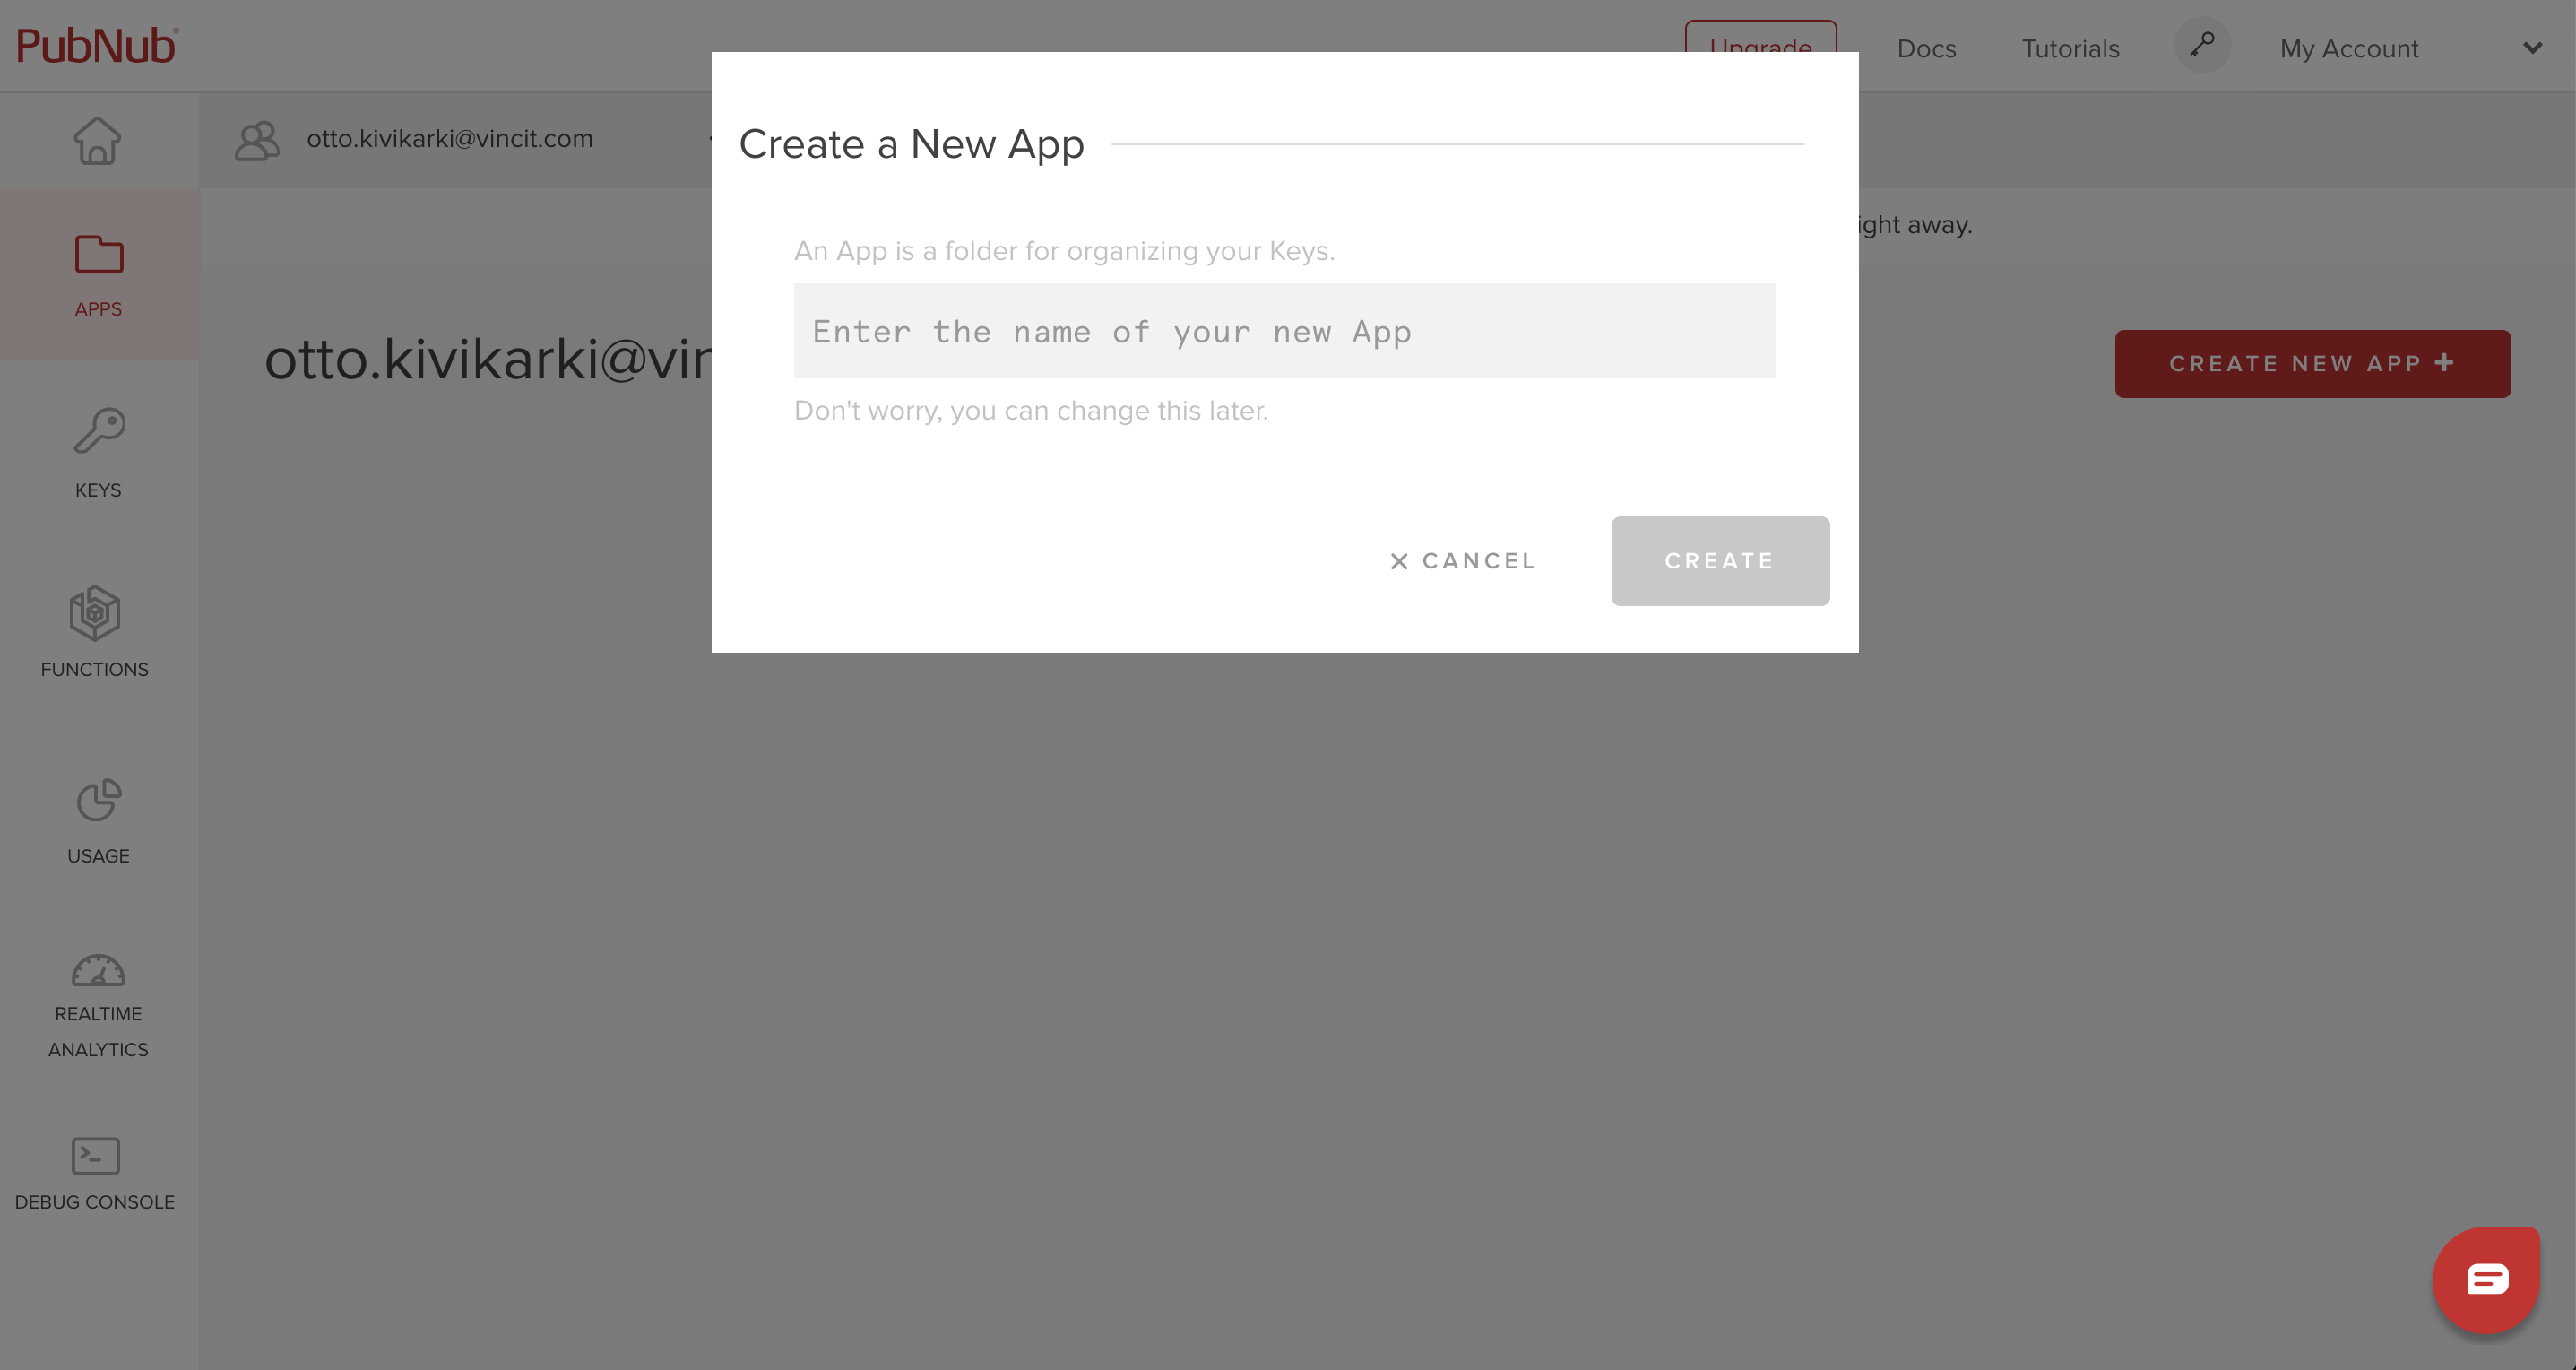
In the Apps section, select "Create a new app" from the right, enter a name and click "Create". This will create a new application that includes a default keyset with a publish and subscribe key that we need later on in our React app for real-time messaging. The keyset also includes a secret key that can be used for management-related functionalities.
An application in PubNub is just a way of organizing your different keysets (a single application might have multiple keysets for different purposes). These keysets are the beef of your real-time applications as all the different features are tied to the subscribe and publish keys. If you head over to the newly created default keyset page, you’ll find a lot of different configuration options that you can adjust in the “Application add-ons” section. By default most of the features are disabled and we don’t need to touch them in this tutorial.
Creating the demo application
First, create a new React project by running npx create-react-app pubnub-tutorial on your CLI. This will initialize a new React project and install all the required base dependencies. Move into the created directory and install pubnub by running yarn add pubnub. Note that there also is an npm package called pubnub-react, but I won’t be using it in this tutorial as it’s API feels a bit off for various reasons (more about it here) and the base Javascript SDK of PubNub is better suited towards learning and the tutorial anyway.
In this tutorial, I’m going to use React Context for managing PubNub. If you aren’t familiar with the Context API yet, you can read more about it here. Here the context is a good way of encapsulating the PubNub related functionality including initialization of the PubNub instance and storing the related data as the context variables and functions that can be passed down to its child components for easy re-use. There is a lot going on in the code below, so let’s go through it together.
- In the `componentWillMount` method I am initializing a new PubNub instance. Your keysets publish and subscribe keys go here. Following best practices, I am storing the values as environment variables and reading them from the `.env` file. More about it here.
- In the addListener method, I am adding a couple of event listeners. The status listener receives updates about changes in the connection status. Here I am just logging out the received event and then sending a message to a channel when we are connected to PubNub. For example, here you could display a message to the user when they are connected or disconnected from PubNub or when a connection error happens. The message listener is called when a channel we are subscribed to receives new messages. Here I am logging out a message and then updating the context state messages array with the newly received message so that we can display them later. I add the publisher to the message so we can uniquely identify the sender per message. By default, PubNub assigns a random uuid to the user, but one can also be given when initializing the PubNub instance.
- The sendmessage method is used for publishing messages to the channel we are subscribed to. For the publish function's first parameter we pass in the channel name and a message object. The message itself can contain any kind of data you want, here it is an object, but for example, for an IoT application, the message could be some frequently updated sensor data point. The second parameter is a callback function that is called after the message has been successfully or unsuccessfully published.
- Lastly, in the render method, I am passing down messages and sendMessage methods to the context as values so that we can use them in the context consumer later.
Now that we have the context set up. Let's add it to the root component in src/index/hs and wrap our App component with it.
Testing it out
If you now start the application up by running yard start, you should be able to see the following in the console confirming that we are connected to PubNub, sending a message and receiving it in the demo-chat channel. We can also confirm that all the subscribers are receiving the same message by opening up the application into another tab and refreshing the page. Each tab should log out after refreshing the tab.

Finishing Up
To finish up the tutorial, let’s remove the create-react-app example code from src/App.js and src/App.css and replace it with the following. In the code below I am adding a simple list for displaying the chat messages and a form for publishing a new message to the PubNub channel. I am also adding some styles to make the chat look at least somewhat nice. Nothing too fancy here, maybe except the cool new useContext hook for functional components that I'm using to grab the message array and the SendMessage method from the context class we defined earlier.

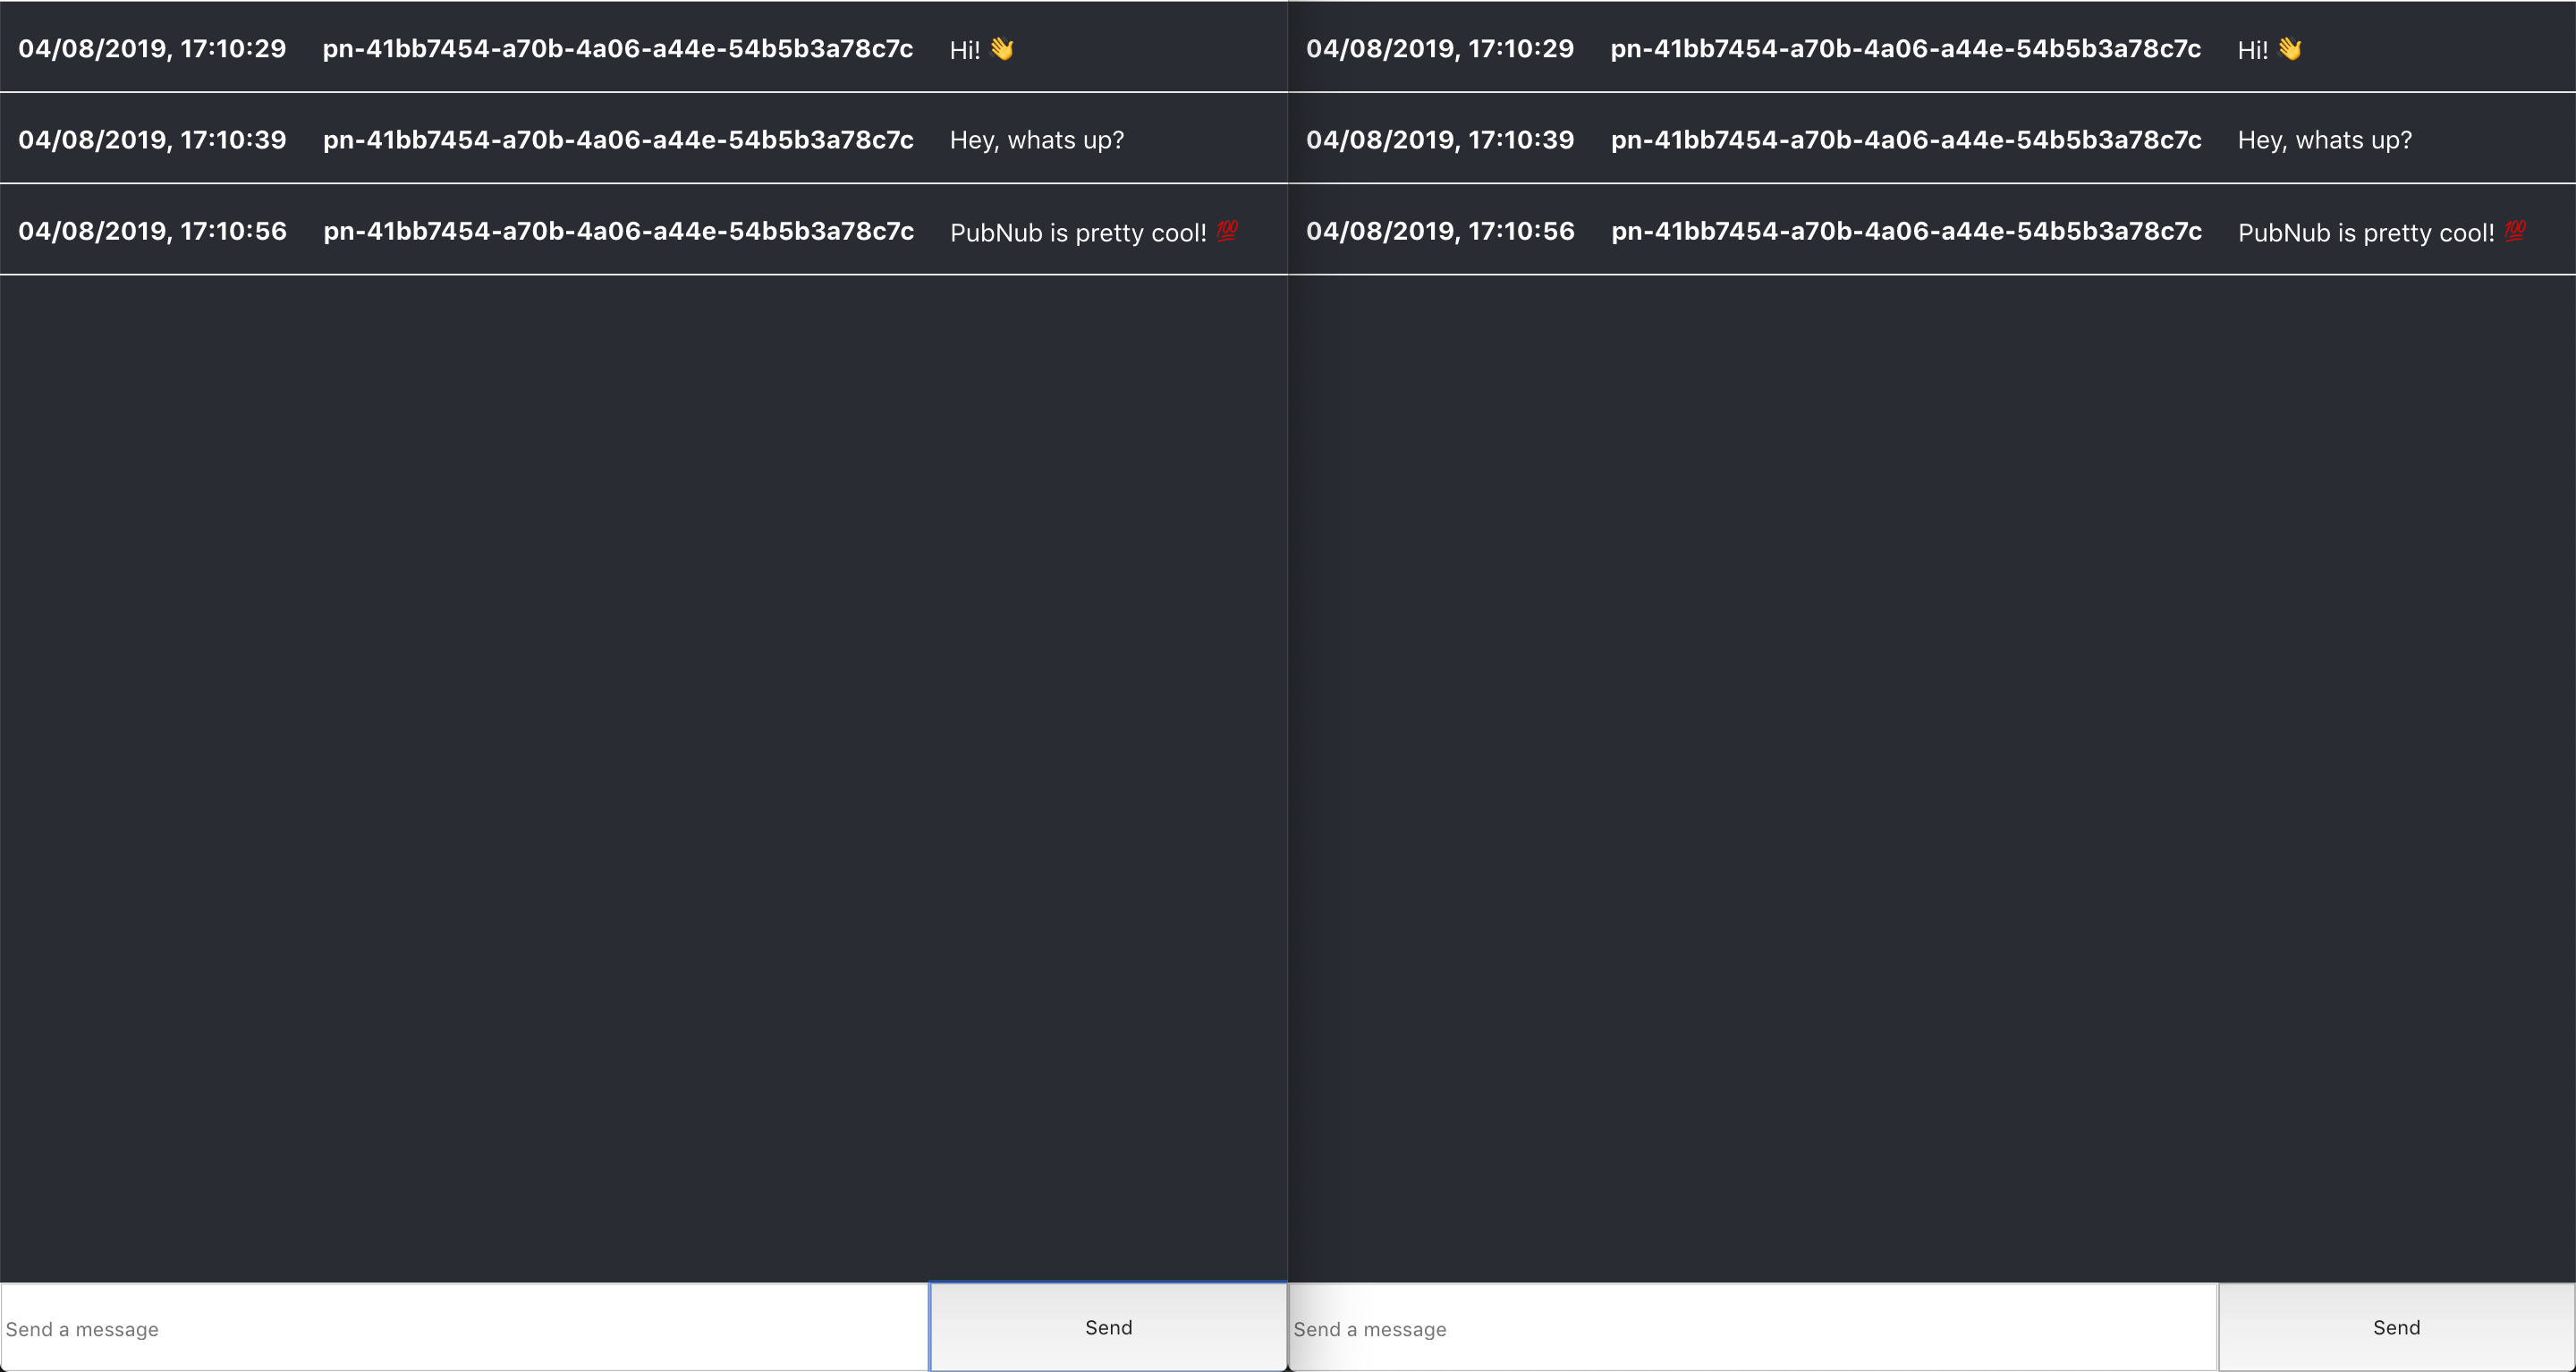
If you now open up two or more browser tabs side by side, you should be able to publish messages to the subscribed PubNub channel and see the initially published "Hello World!" message appear in all tabs among other messages you send!
Recap
Overall, I think it's pretty straightforward to get a simple real-time messaging application working with PubNub. Initialize an instance, subscribe to a channel and publish messages. Of course, there is a lot more to the PubNub platform such as access control and functions for manipulating messages like I already mentioned before, you can read more about those on the PubNub website.
The example code is available in my Github repository located at https://github.com/ottoo/pubnub-react-chat.
You can also view a live example of the completed tutorial at https://pubnub-demo-chat.netlify.com.


